Adobe is notorious for taking up large amounts of space on your hard drive. As an example, I’d used only one Adobe After Effects file a few times and AE took up nearly 50GB! To fix this problem:
Change the default Adobe cache size
Adobe programs set their own default cache size, but you can change this. Open the program’s settings and choose Media & Disk Cache. Click the highlighted blue text and change it to a smaller number.
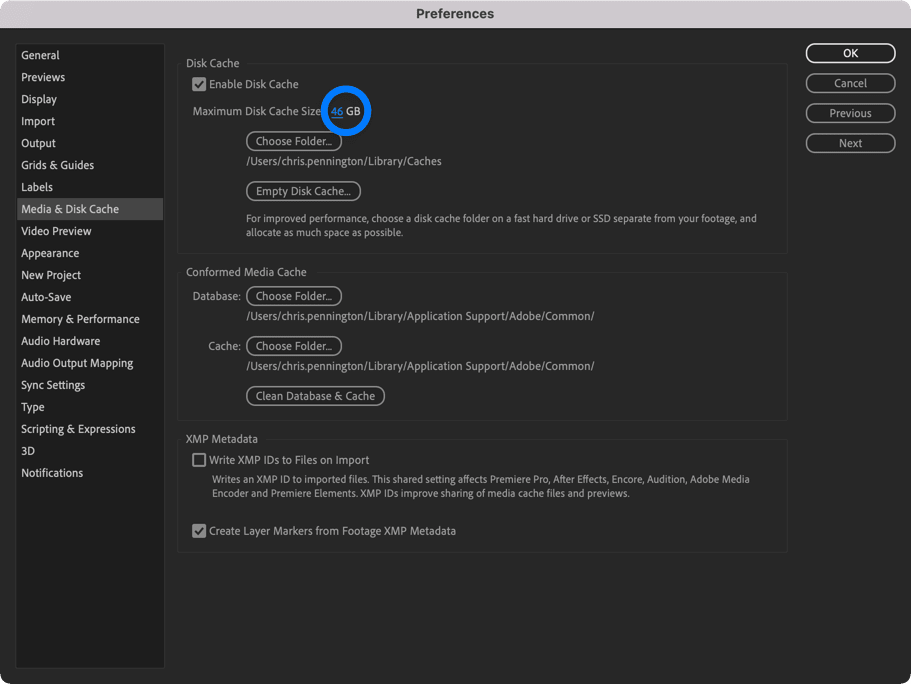
Note: Saving cache makes the program run faster, so you may have to continually adjust this number until you find something that works well for your needs.
Delete any Adobe cache files
Removing old cache files can clear up any existing cache. There are a few different locations Adobe stores cache files.
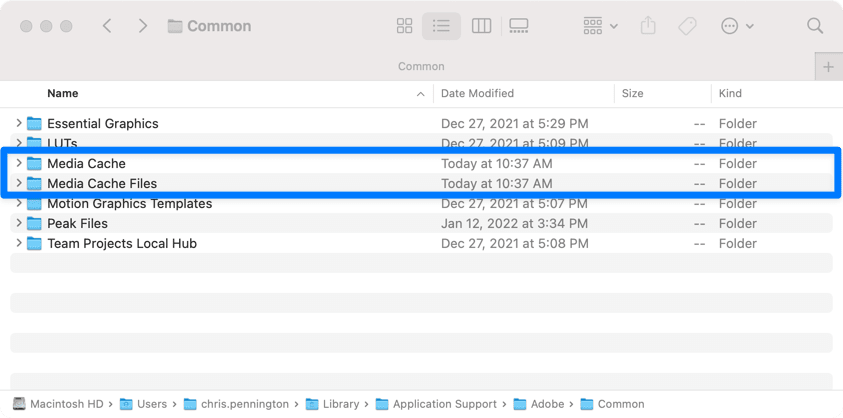
1. Delete Application Support Adobe Cache
- Open Finder.
- Click the Go menu and choose Library (if you don’t see Library, press the option key).
- Open the Application Support folder
- Open the Adobe folder.
- Open the Common folder.
- Delete the Media Cache and the Media Cache Files folders.
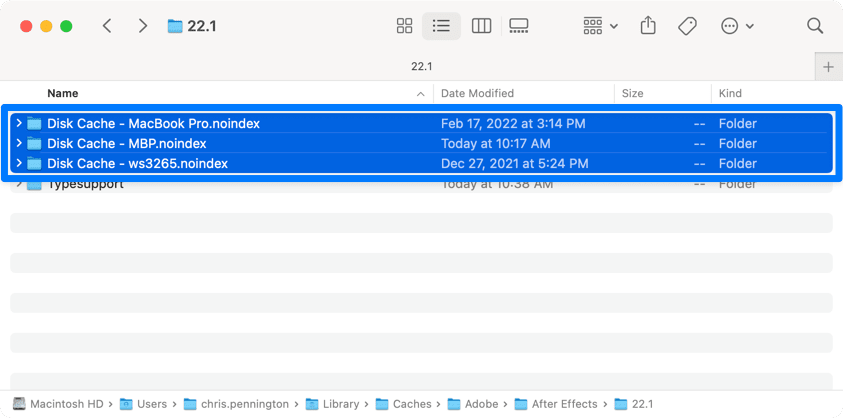
2. Delete Adobe Cache from the Caches folder
- Open Finder.
- Click the Go menu and choose Library (if you don’t see Library, press the option key).
- Open the Caches folder
- Open the Adobe folder.
- All your Adobe products will show. Open each folder and check the folder and any subfolders for Disk Cache folders. Delete any Disk Cache folders you find.